

0
Owner's of the Cisco Systems Switch Cisco Nexus Switch gave it a score of 0 out of 5. Here's how the scores stacked up:
Send document comments to nexus7k-docfeedback@cisco.com
5-8
Cisco Nexus 7000 Series Hardware Installation and Reference Guide
OL-18634-01
Chapter 5 Connecting the Cisco Nexus 7000 Device to the Network
Connecting an I/O Module
Connecting a Fiber-Optic Cable with a Transceiver
Caution To prevent damage to the fiber-optic cables, do not place more tension on them than the rated limit and
do not bend them to a radius less than 1 inch if there is no tension in the cable or 2 inches if there is
tension in the cable.
To prevent possible damage to the cable or transceiver, install the transceiver in the port before installing
the cable in the transceiver.
To install a cable into a transceiver, follow these steps:
Step 1 Attach an ESD-preventative wrist strap and follow its instructions for use.
Step 2 Remove the dust cover from the port connector on the cable.
Step 3 Remove the dust cover from the cable end of the transceiver.
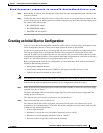
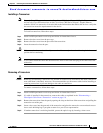
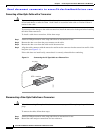
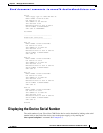
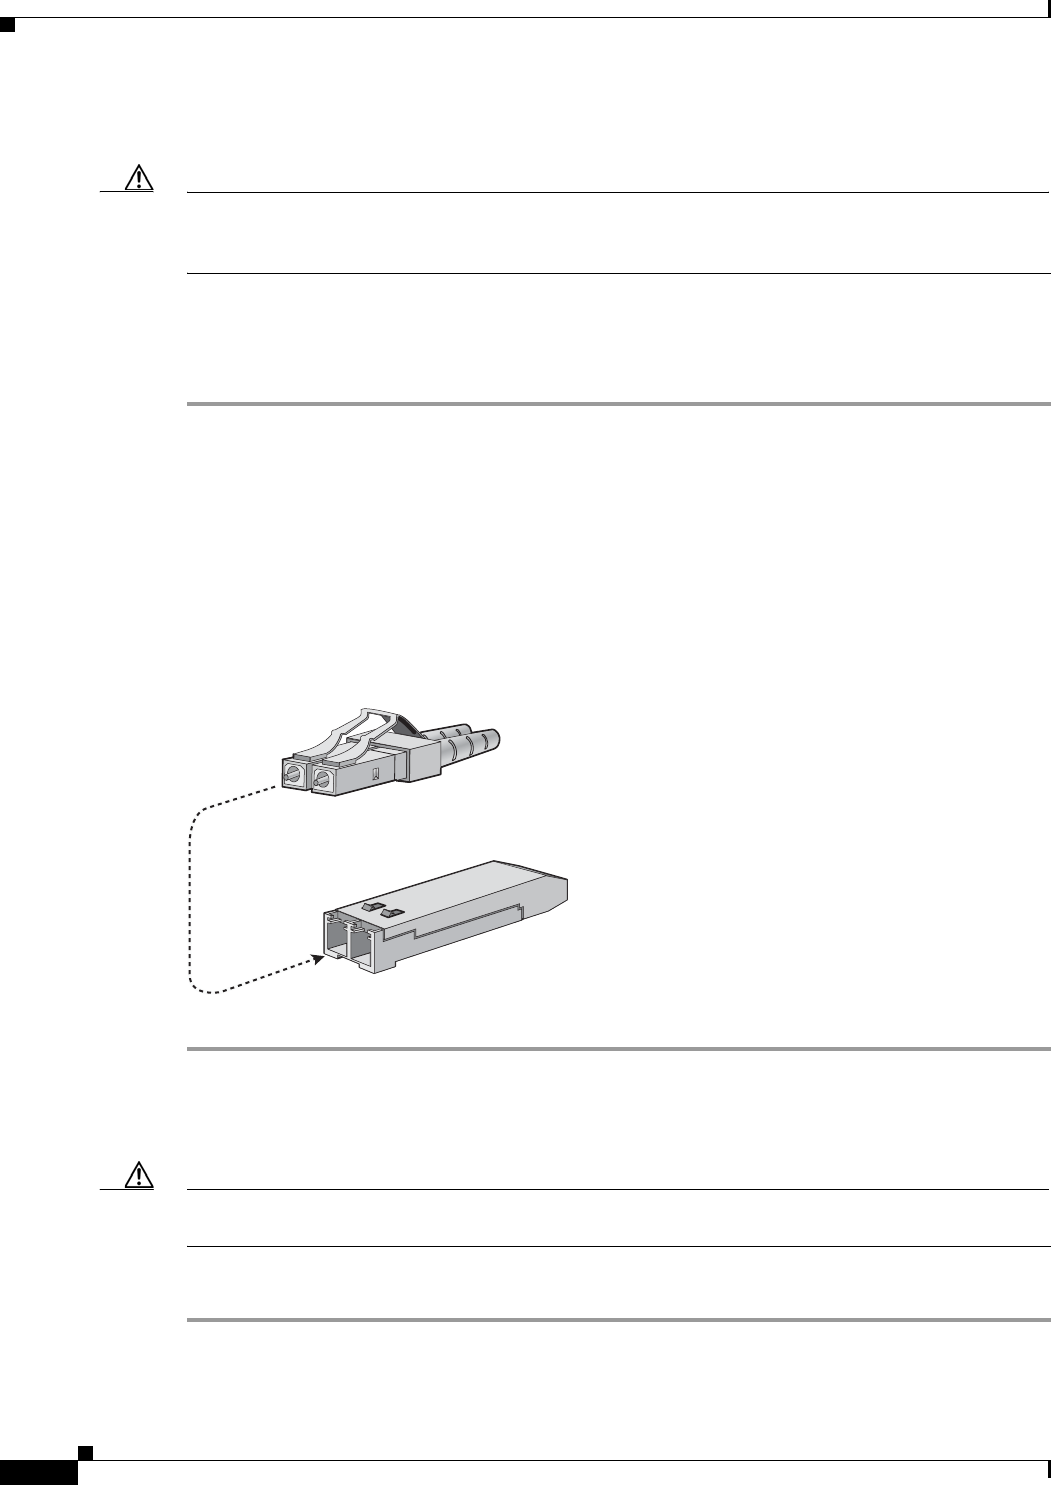
Step 4 Align the cable connector with the transceiver and insert the connector into the transceiver until it clicks
into place (see
Figure 5-1).
If the cable does not install easily, ensure that it is correctly oriented before continuing.
Figure 5-1 Connecting the LC-Type Cable to a Ethernet Port
Disconnecting a Fiber-Optic Cable From a Transceiver
Caution When disconnecting fiber-optic cables, be sure to cover any exposed fiber-optic openings with dust
plugs.
To remove the cable, follow these steps:
Step 1 Attach an ESD-preventative wrist strap and follow its instructions for use.
Step 2 Record the cable and port connections for later reference.
LC plug
SFP + module
187297


Find Your Products By Category
Please Login
