

0
Owner's of the Cisco Systems Switch Cisco Nexus Switch gave it a score of 0 out of 5. Here's how the scores stacked up:
Send document comments to nexus7k-docfeedback@cisco.com
8-19
Cisco Nexus 7000 Series Hardware Installation and Reference Guide
OL-18634-01
Chapter 8 Removal and Installation Procedures
Replacing a CompactFlash Card
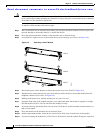
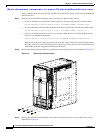
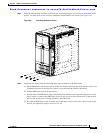
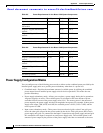
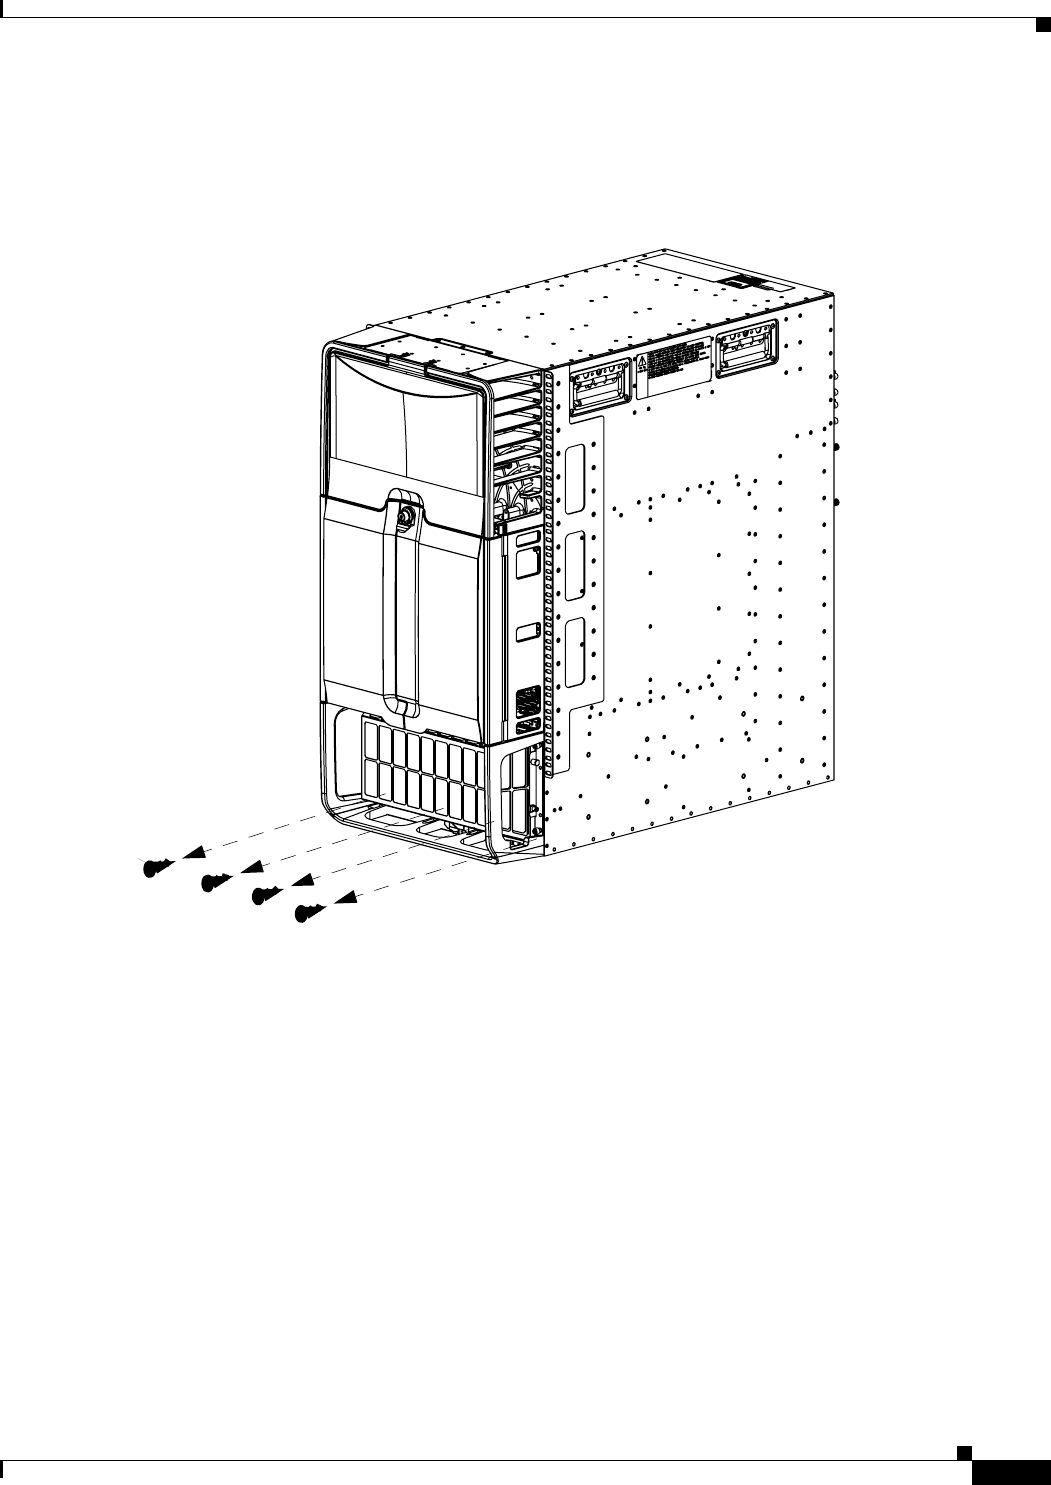
Step 2 Align the bottom frame assembly so that its four screw holes align to screw holes in the bottom of the
chassis, and then screw in four screws to attach the bottom frame to the chassis (see
Figure 8-8).
Figure 8-8 Installing the Bottom Frame
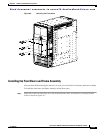
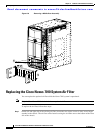
Step 3 Install the side frame pieces by following these steps to attach it to the EMI frame:
a. On the EMI frame, which covers the air intake area on the lower front side of the chassis, loosen and
completely unscrew each of the four captive screws that hold the frame to the chassis.
b. Pull the EMI frame away from the chassis.
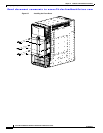
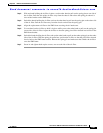
c. On each side of the EMI frame, align a side frame piece so that its two screw holes align to two screw
holes, each in a corner of the EMI frame. Screw in one screw in each of these holes so that each of
the two side frame pieces is firmly attached to the EMI frame.
d. Re-align the EMI frame to the air intake area on the chassis and screw its four captive screws to the
chassis, and tighten the captive screws to 8 in. lbs.
186696


Find Your Products By Category
Please Login
