
0
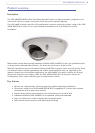
Owner's of the Axis Communications Security Camera 209FD-R gave it a score of 0 out of 5. Here's how the scores stacked up:

8
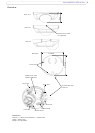
AXIS 209FD/FD-R/FD-R M12
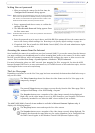
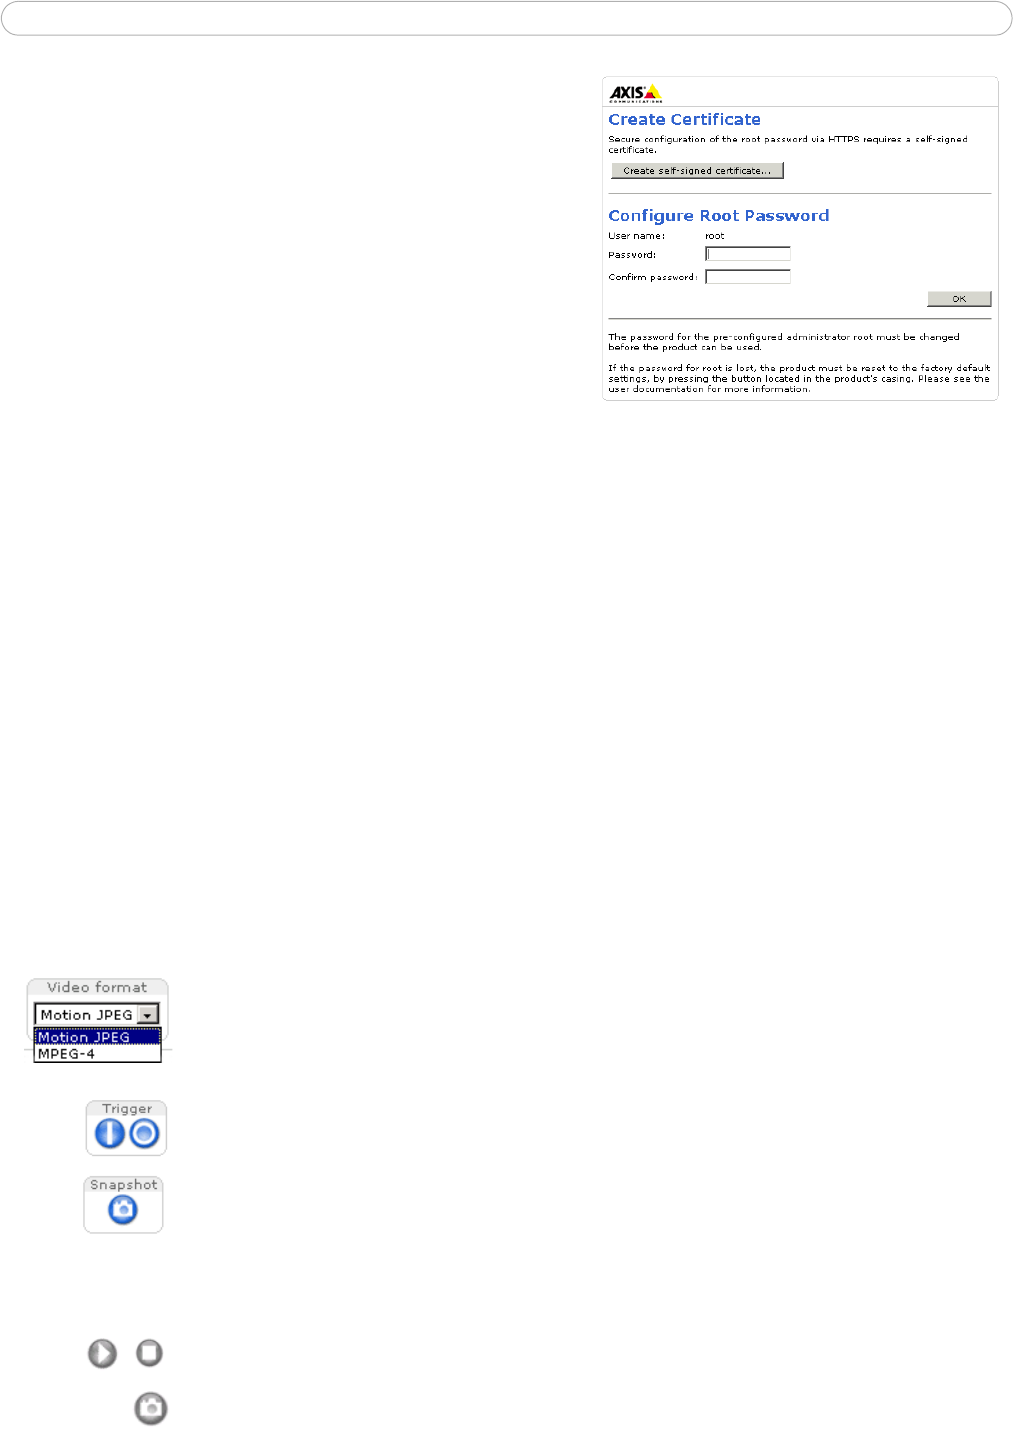
Setting the root password
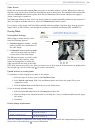
1. When accessing the camera for the first time, the
‘Configure Root Password’ dialog appears.
Note:
Before you enter your password at this point, you can secure configu-
ration of the root password via HTTPS by creating a self-signed certifi-
cate. To do so, click the Create self-signed certificate... button in the
Create Certificate window, and then proceed as follows.
2. Enter a password and then re-enter, to confirm the
spelling. Click OK.
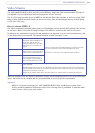
3. The ‘Enter Network Password’ dialog appears. Enter
the User name: root
Note:
The default administrator user name root is permanent and cannot be
deleted or altered.
4. Enter the password as set in step 2 above, and click OK. If the password is lost, the camera must be
reset to the factory default settings. See Resetting to the factory default settings, on page 31.
5. If required, click Yes to install the AXIS Media Control (AMC). You will need administrator rights
on the computer to do this.
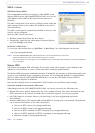
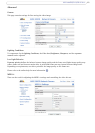
Accessing the camera from the Internet
Once installed, the camera is accessible on your local network (LAN). To access the camera from the Internet
you must configure your broadband router to allow incoming data traffic to the camera. To do this, enable
the NAT-traversal feature, which will attempt to automatically configure the router to allow access to the
camera. This is enabled from Setup > System Options > Network > TCP/IP Advanced.
For more information, please see NAT tr
aversal (port mapping) for IPv4, on page 28. See also the AXIS
Internet Dynamic DNS Service at www.axiscam.net or, for
Technical notes on this and other topics, visit the
Axis Support Web at www.axis.com/techsup
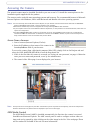
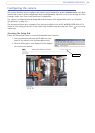
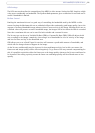
The Live View page
Depending on whether or not the Live View page has been customized, the buttons described below may or
may not be visible.
The Video format drop-d
own list allows the video format on the Live View page to be
temporarily changed.
The manual Trigger button can trigger an event
directly from the Live View page. This is
configured from Setup > Live View Config > Layout.
The Snapsh
ot button saves a snapshot of the video image currently being displayed.
Right-click on the video image to save it in JPEG format on your computer. This button
is primarily intended for use when the AMC viewer toolbar is not available.
The AMC (AXIS Medi
a Control) viewer toolbar is available in Microsoft Internet Explorer only. It
displays the following buttons:
The Play/Stop button starts and
stops the live video stream.
The Snapshot
button saves a snapshot of the video image currently being displayed. The
Snapshot function and the target directory for saving snapshots can be configured from
the AMC Control Applet in the Windows Control Panel (Internet Explorer only).


Find Your Products By Category
Please Login
