
0
Owner's of the Premier Mounts TV Mount Clevis Mount gave it a score of 0 out of 5. Here's how the scores stacked up:

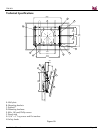
CTM-MS2
Page - 12 - Installation Manual
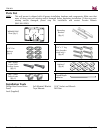
CTM-MS2 Installation
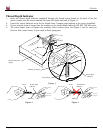
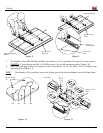
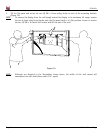
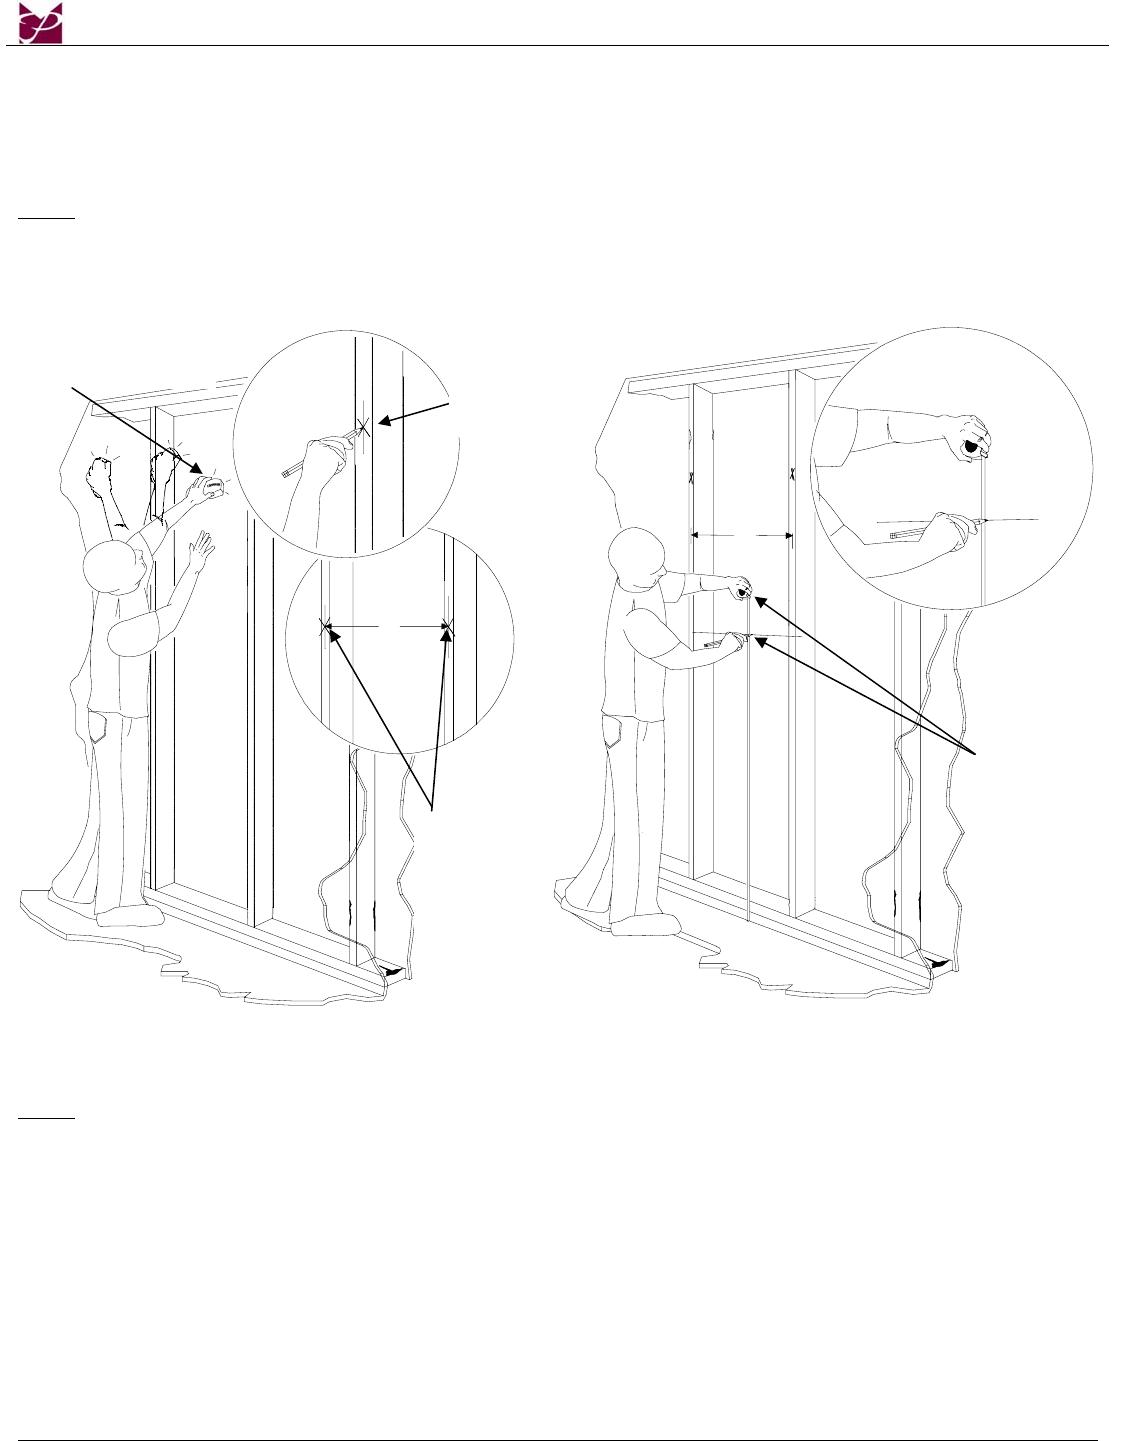
1. Using a (commercially available) wood stud finder, locate the 16" or 24" stud centers behind the wall
(Figure 12).
2. Once found, make a pencil marking on the center of the wood studs (Figure 13).
NOTE: The wall plates have 16" and 24" mounting slot positions.
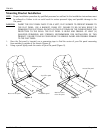
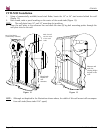
3. Place the wall plate to the reference line and mark the nine (9) lag bolt mounting points through the
wall plate slots on the wall.
16"
16"
Figure 12 Figure 13
NOTE: Although not depicted in the illustrations shown above, the width of this wall mount will encompass
four wall studs (three studs if 24” apart).
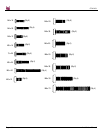
W
ood studs
behind the
wall
structure.
Wood Stud Finder
(Commerciall
y
available)
Measure and
mark the
viewing height
desired on the
w
all.
Mark the wall
and the center
of the wood
studs.


Find Your Products By Category
Please Login
